Mould No More: How to Remove Mould in Your Nanaimo Bathroom

Mould in the bathroom can be a serious issue, especially when it continues for some time. It’s important to remember that by taking action quickly and understanding how to remove mould, we can protect ourselves and our loved ones from potential health risks and the structural integrity of our bathrooms. By proactively addressing the problem as soon as possible, we can create a safe, healthy environment for everyone to enjoy.
Why Does Mould Grow in Bathrooms?
Bathroom mould occurs primarily because of high humidity levels and poor ventilation, which create an environment ripe for mould spores to grow and reproduce. Mould loves damp areas, and bathrooms are some of your house’s dampest—if not the dampest—areas.
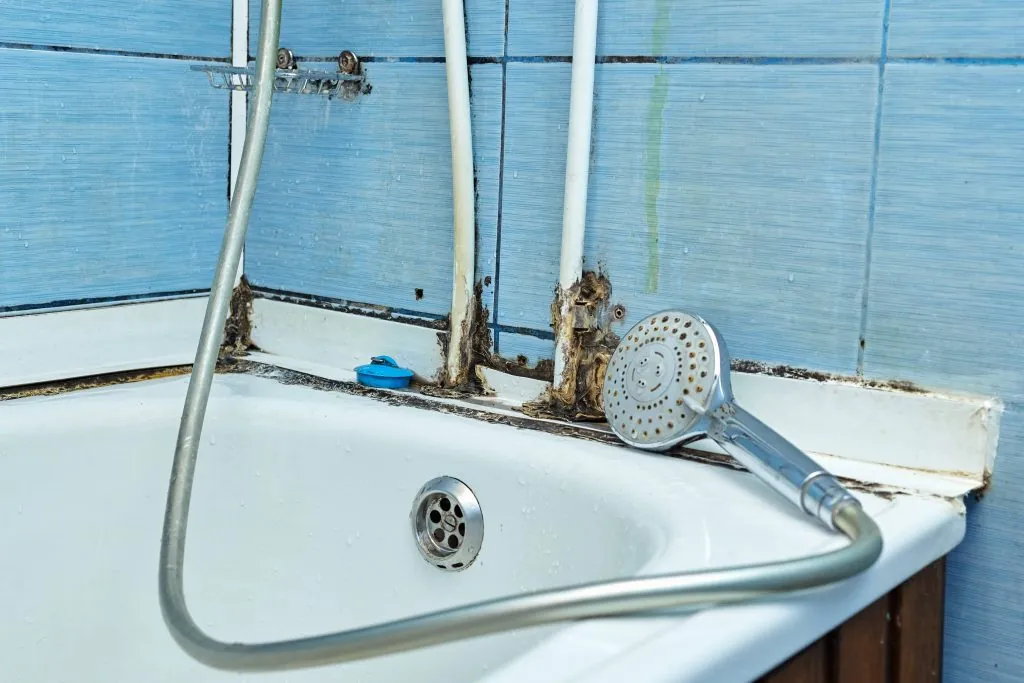
The bathroom ceiling, bathroom walls, shower tiles, grout, shower curtains, and exhaust fan vents are the most common locations for mould to accumulate because moisture accumulates on or near them.
Mould comes in a variety of colours. For example, Stachybotrys, a black mould, is highly toxic. Nonetheless, it doesn’t matter what type of mould you’re dealing with—all moulds carry the risk of health issues.
Exposure can put you at risk for respiratory ailments, headaches, skin irritation, and more. For these reasons, we recommend you move to eliminate the mould in your bathroom as quickly as possible.

Understanding how to remove mould in the bathroom can save your walls and tub from damage.
How to Remove Mould in Your Nanaimo Bathroom
Mould growth in your bathroom is a scary possibility, and we’ve established that it’s terrible. What can you do, then? Fortunately, visible mould in the bathroom is simple to remove, and there are a few everyday household mould-killing products and tools you can use to get rid of the problem.
Removing Bathroom Mould Growth Safely
We never recommend cleaning mould from a surface area over 10 square feet. If this situation occurs in your bathroom, please contact a professional mould remediation expert to mitigate the mould safely. Mould removal can be dangerous work, even when it doesn’t seem like it should be.
However, if you insist on treating the mould yourself or performing any mould removal covering more than a few square feet, there are essential and significant precautions you must take. You don’t want to risk polluting the rest of the home, spreading the mould to even more areas, and, more importantly, you don’t want to breathe in or expose other people or pets to the potentially high quantities of hazardous mould spores.
- Wear old clothes and shoes you can launder or throw away after the cleanup.
- Wear gloves, goggles, N-95 mask, or P-100 respirator.
- While cleaning, set a cheap or old box fan in the window to ventilate the area. When you’re done cleaning, dispose of it since the spores are nearly impossible to remove. Close the window once completed to prevent spores from blowing back into the room.
- Wrap and tape any mouldy carpeting in 6-mil plastic and double-bag mould-infested debris in garbage bags for disposal.
- While you work, dampen mouldy places with a sprayer to prevent airborne spores from spreading.
- Cover ducts and doors to prevent spores from spreading. Also, turn off your air conditioner and furnace, as well as any other equipment that might push air around.
- After vacuuming, keep your wet/dry vacuum outside.

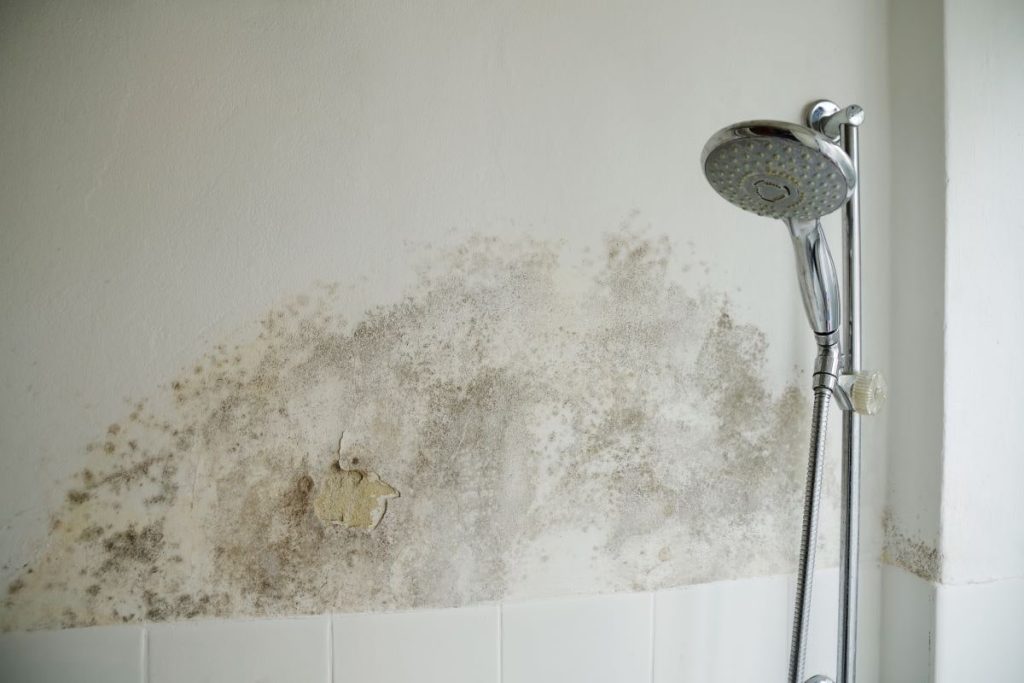
Mould growth can often cause wallpaper to peel and discolour.
Vinegar
You may use white or distilled vinegar to remove bathroom mould growth.
- Use a spray bottle to soak the mouldy area with vinegar.
- Allow it to sit for 30 minutes.
- Scrub with a scrub brush.
- Spray a second time and leave for another 30 minutes.
- Rinse with warm water.
Baking Soda
Combine 1/2 cup baking soda and several teaspoons of water to make a cleaning paste.
Apply it to the mould, leave it for 10 minutes, then use a brush to remove it.
If there is mould on or behind the drywall or underneath the subfloor beneath the bathroom tile—the tiles may appear tilted or shift when you touch them—you’ll need to hire a professional to clean and repair the area.
Removing Mould From Painted or Wallpapered Walls
White vinegar, borax, and water effectively remove mould from painted surfaces. You’ll need a spray bottle and other supplies to clean the walls.
- Combine two tablespoons of borax with 1/4 cup white vinegar and 2 cups hot water in a plastic bucket or bowl.
- Fill a spray bottle with it.
- Spray the solution on your painted walls.
- Remove the residue by scrubbing it repeatedly and wiping it clean with a damp cloth. Spray once again and sit for 10 minutes before drying.

Mould can often show up in the grout between tiles in the shower.
How To Remove Mould and Prevent Future Growth
Moulds exist in all environments but require constant moisture to reproduce and grow. That’s why a bathroom is an ideal environment for spores to flourish. When there’s moisture, whether in the sink, the bathtub, or the shower, there are ways to prevent this from developing into a full-blown mould problem.
The key to preventing mould is keeping the moisture level down with proper ventilation. Install an exhaust fan to circulate the air in the entire bathroom. Ensure no water leaks from the faucets or valves and the drains aren’t clogged.
Water dripping constantly or gathering in one area of your bathroom is a great way to promote mould growth and ensure that your entire bathroom remains damp. If any leaks in the pipes or walls need repair, do so expeditiously.
Do You Need Help Addressing Mould Growth in Your Bathroom? PuroClean Restoration of Nanaimo is Here to Assist!
Mould growth in the bathroom can be an unsightly problem, perpetuating health risks and damaging the integrity of building materials. That’s why PuroClean Restoration of Nanaimo suggests addressing mould as soon as possible. The sooner you treat it, the less impact it will have on the health of your home and loved ones. Contact us today at (778) 906-0911, and one of our certified mould remediation specialists will offer a comprehensive assessment.


